1 - Create the Product List Page
Import a skeleton project for the SAP Build CodeJam, and create a simple product list page based on data in our CAP service.
Prerequisites
- You have completed the previous tutorial for the SAP Build CodeJam, Set Up Prerequisites for SAP Build CodeJam.
You will learn
- How to create a new SAP Build Apps project
- How to import a project
- How to get data from a destination
- How to add components to a page
- How to bind data to UI elements
- How to change component styles
- How to preview your app
Intro
In this exercise, you will be importing an already created skeleton app to your SAP Build Apps lobby. We’ve provided the skeleton app so you do not have to create all the UI elements for all the pages.
For this page, the product list page, you will design the entire UI, including styles and layout. For all pages, you will create the data connections, variables, logic, and navigation.
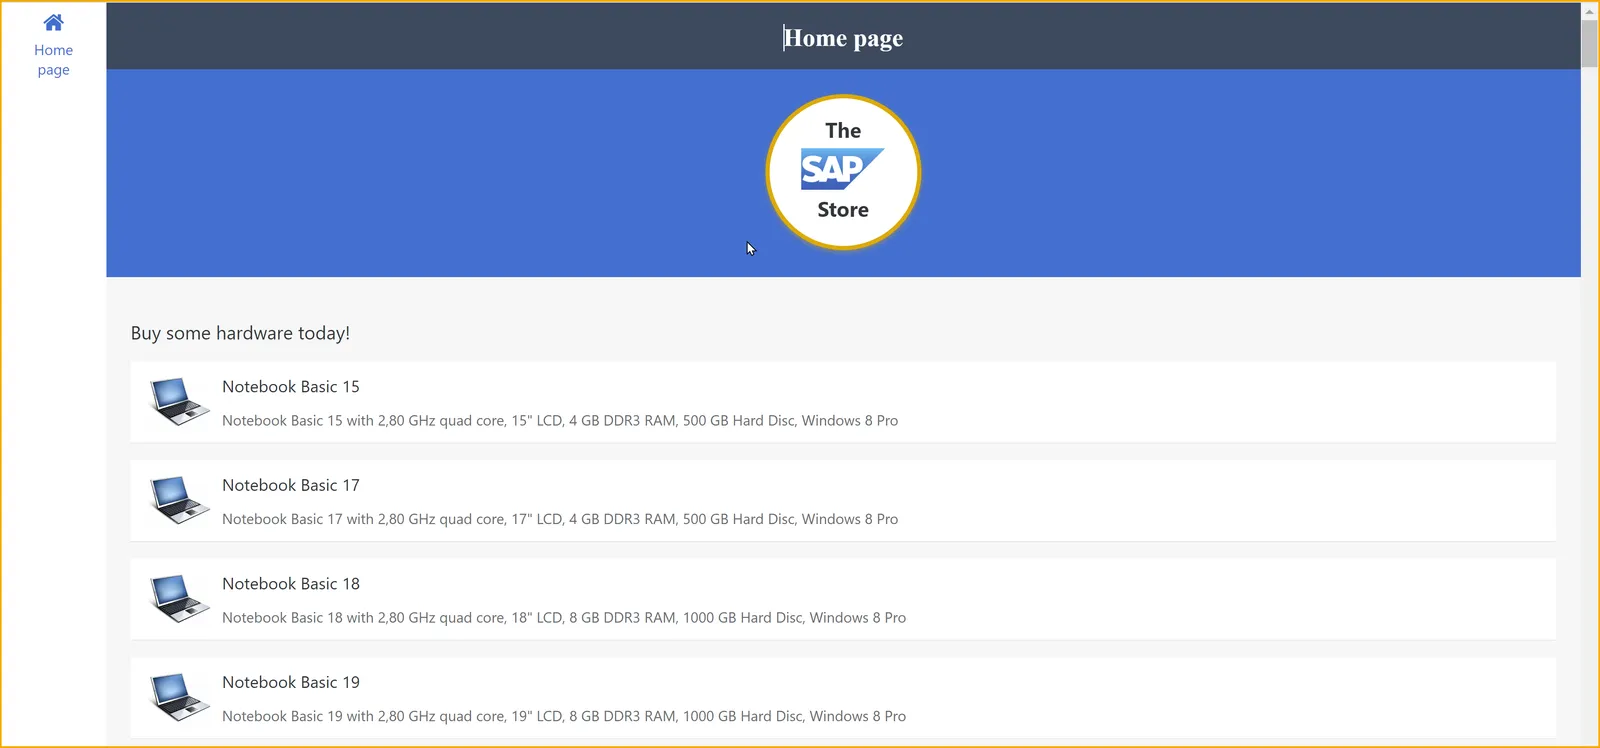
For this product list page, you will connect to our CAP service to get names, descriptions and images of products. At the end of this exercise, your homepage (product list page) will look something like this.
Open the SAP Build lobby
If you already have the SAP Build lobby open from doing the prerequisites, you can skip this step.
Otherwise, here's how to open the lobby.
Go to your trial account at https://account.hanatrial.ondemand.com/.
Sign in if necessary
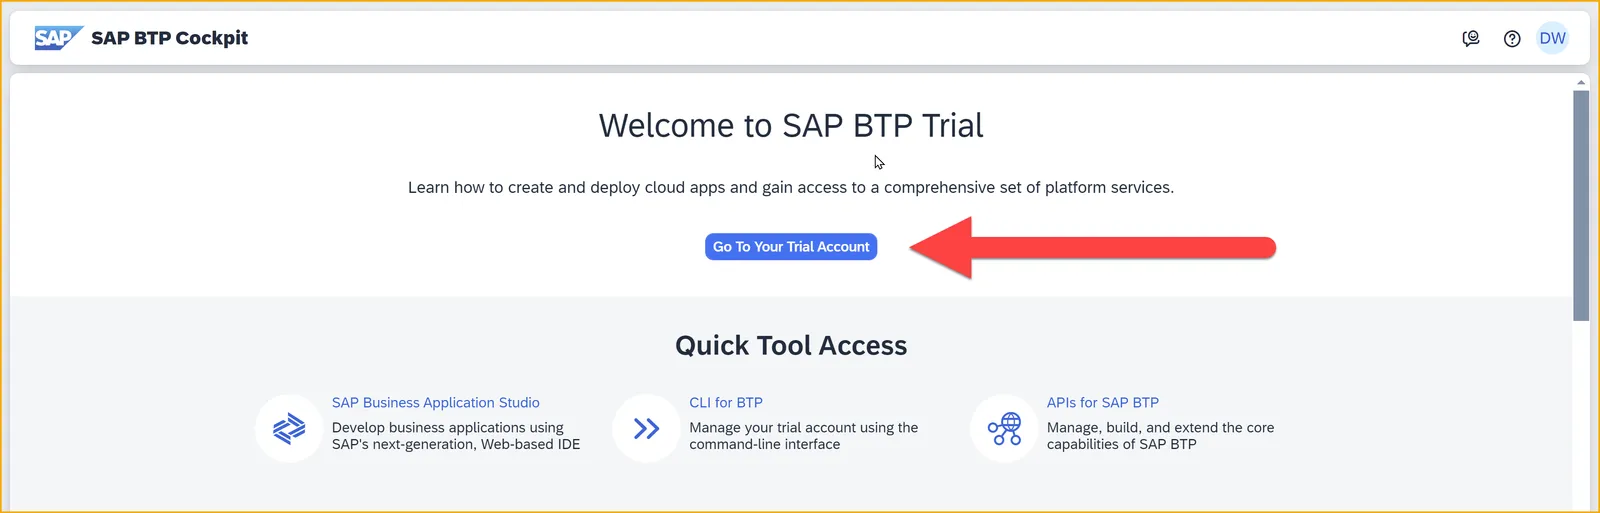
Click Go To Your Trial Account.
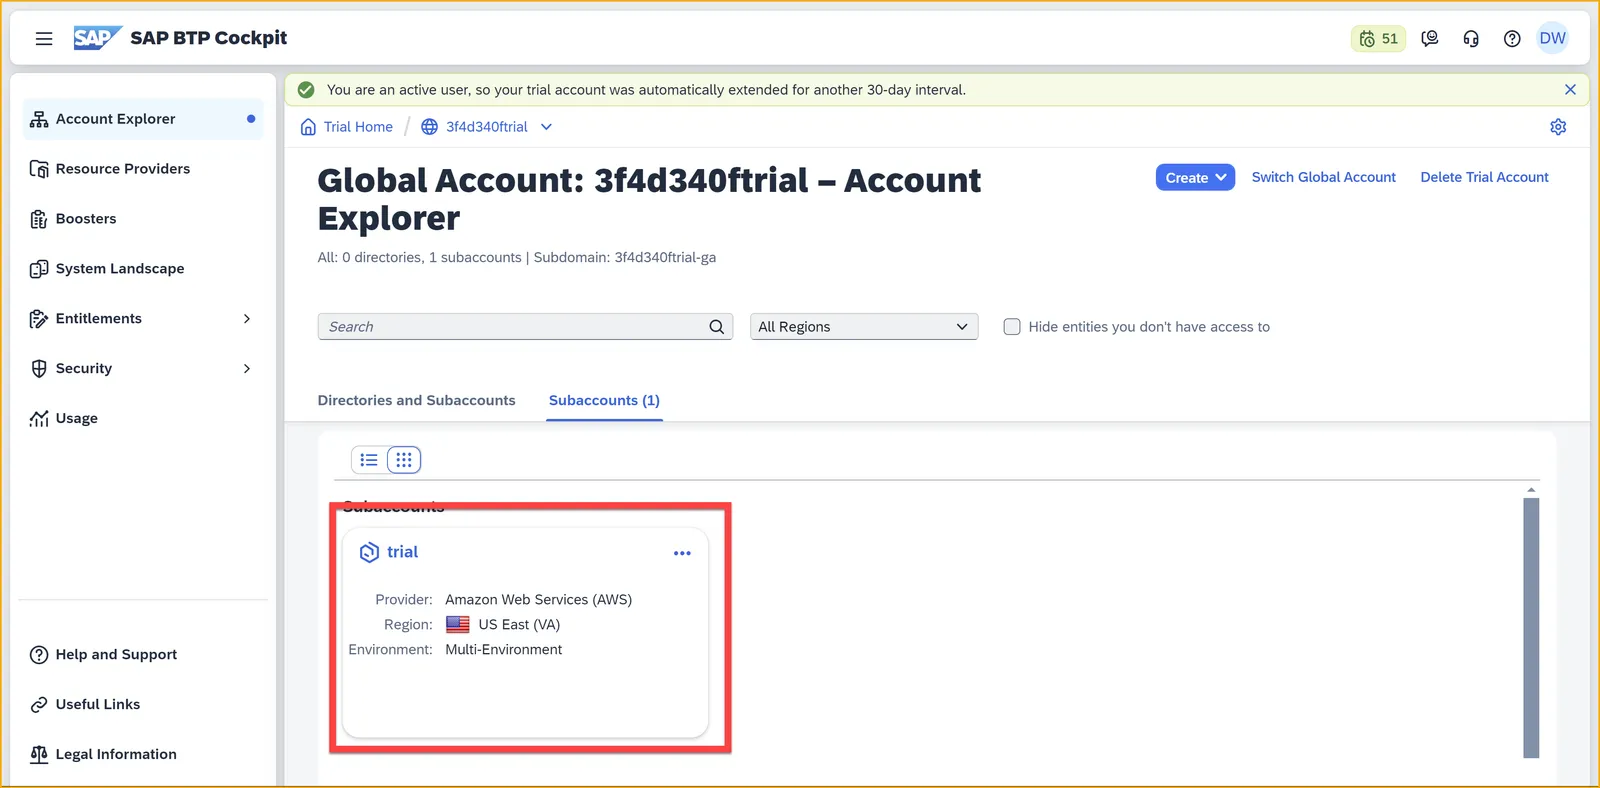
This brings you to your "global" trial account.
Click your subaccount tile.
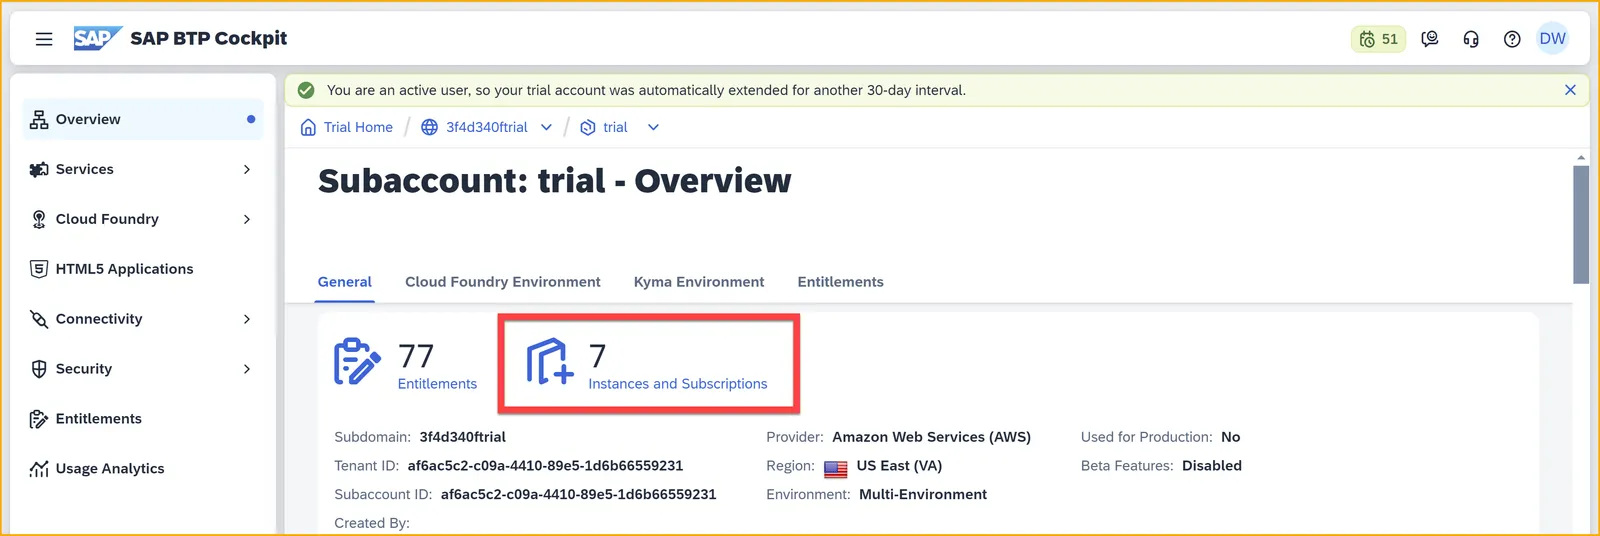
Click Instances and Subscriptions.
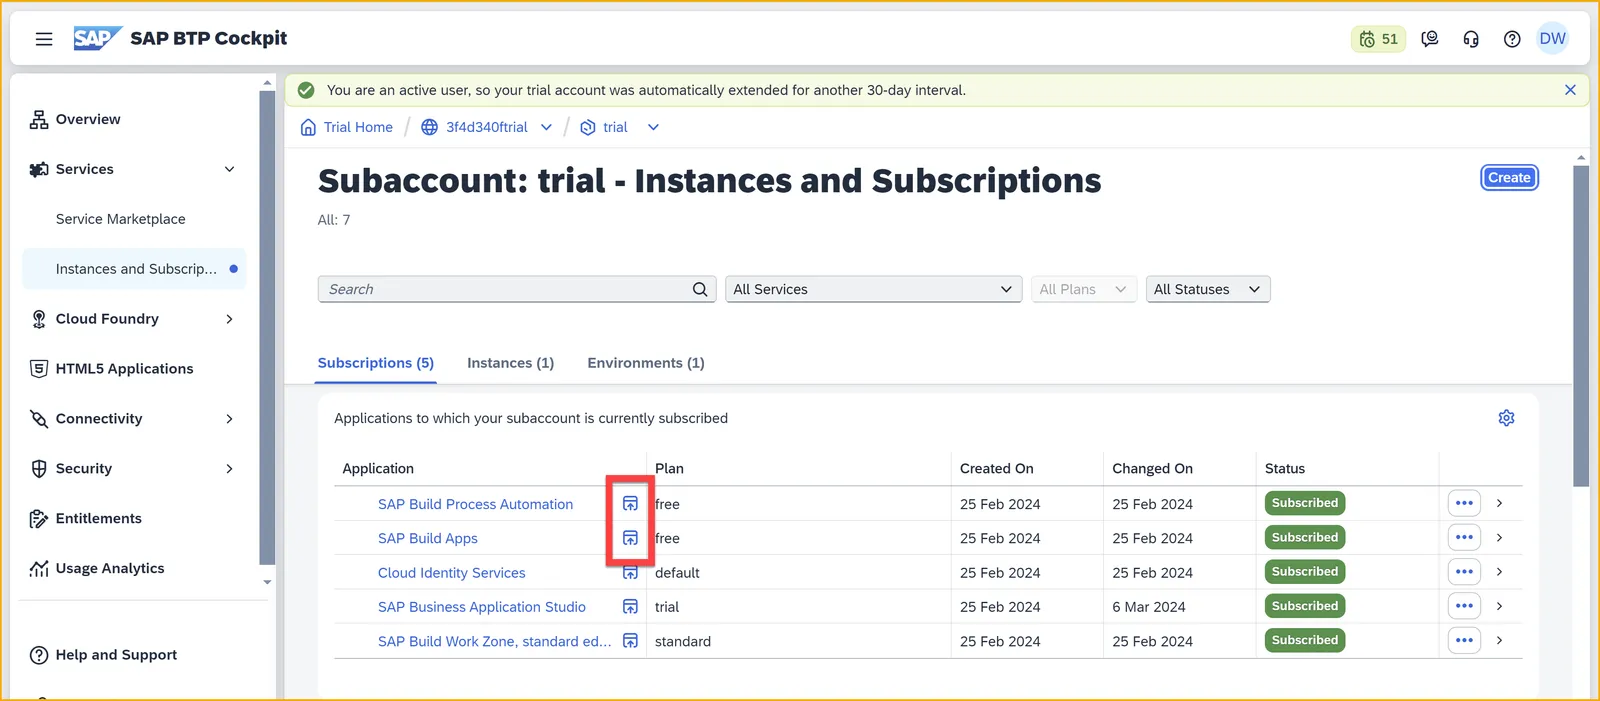
Click the icon next to SAP Build Apps or next to SAP Build Process Automation.
Sign in with your custom IDP (identity provider) user you created when installing SAP Build Apps.
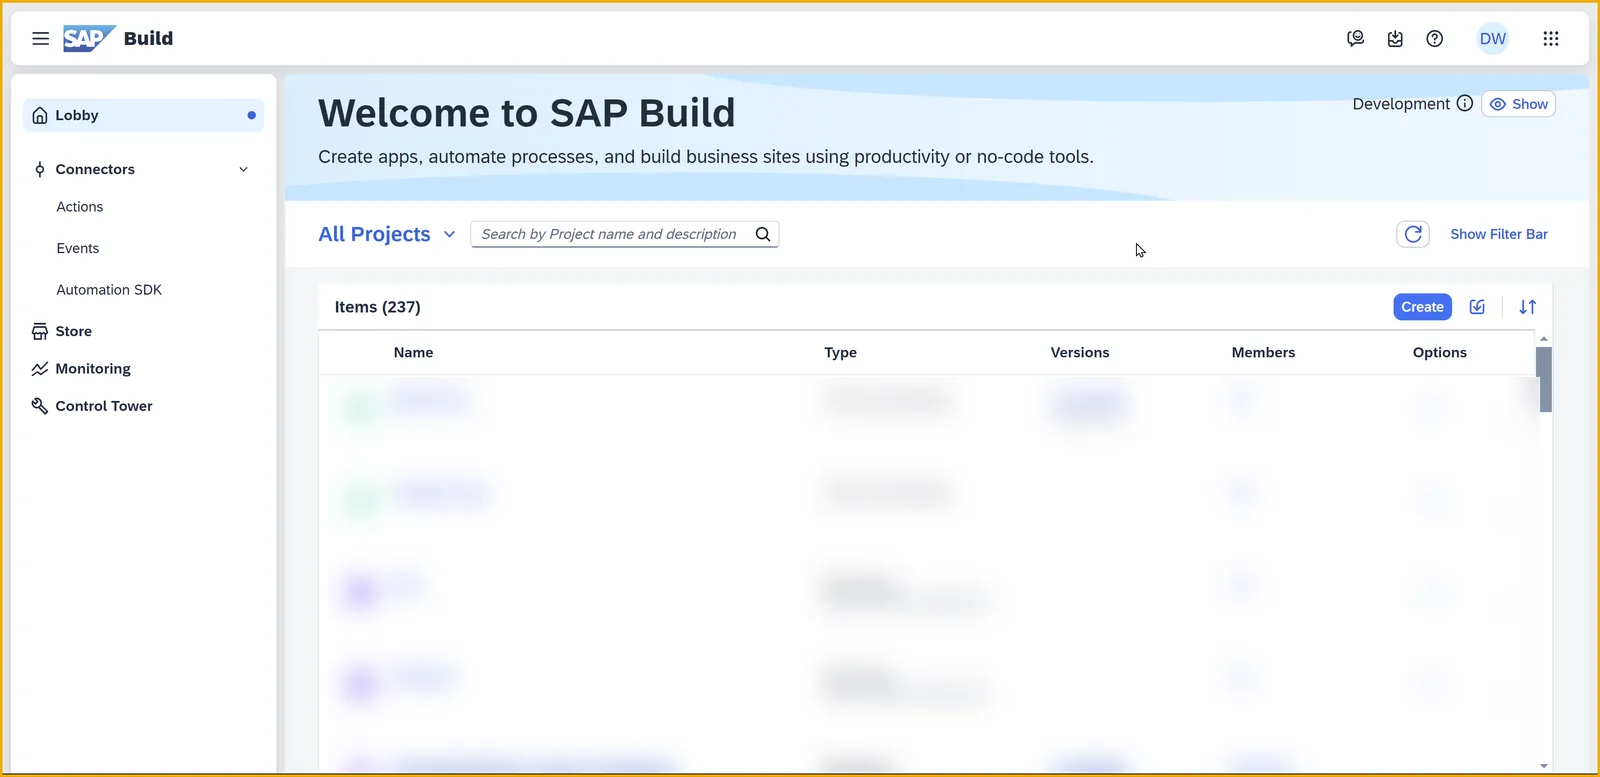
This should open the SAP Build lobby. Yours should be empty.